Materials on imported models
3D models bring their own materials (color and surface texture) with them. This page explains how to change the color of an imported model, and the difference between changing just one model and changing every copy of the same model. The component and the method depend on where the model came from.
The tests on this page were done on 2026-10-30 in the oasisw.ai editor (version shown as OasisW 7e2aa65, Chrome on macOS) with the store model cone (Car Kit) and an uploaded testcube.glb, 1 run each.
Before you start
- Import a model and place it in the scene (Get models from the Asset Store, Upload files).
- Check where the model came from.
Source Component Materials created in ASSETS Asset Store MODEL (LEGACY) None. Only one .glbcontainer is createdA .glbyou uploadedRENDER (Type Asset)A material asset named after the material inside the glTF (for example, Orange)
Do it in the editor
Find the materials a model uses
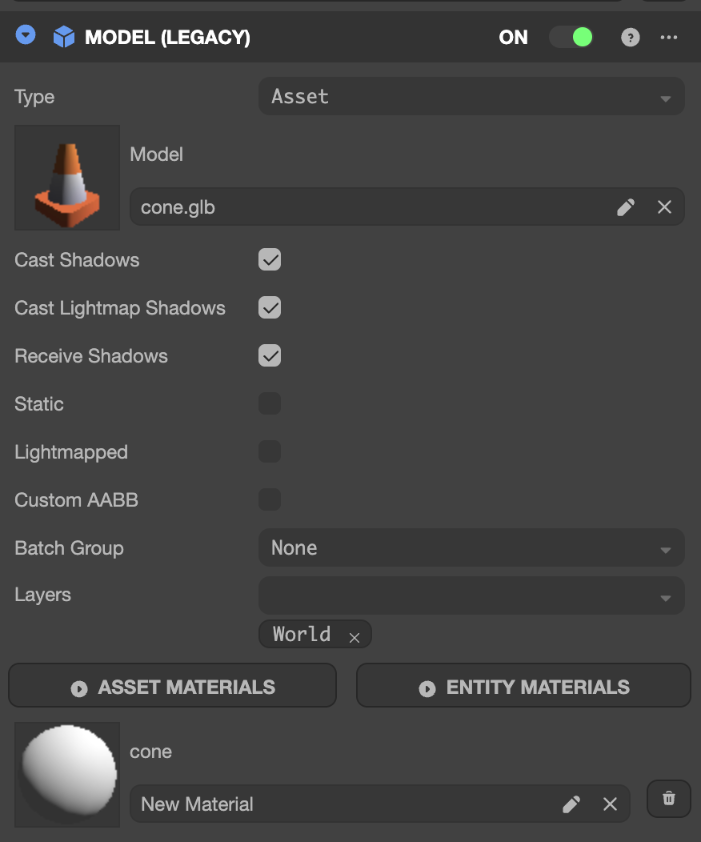
Store model (MODEL (LEGACY)): The fields are Type (Asset), Model, Cast Shadows, Cast Lightmap Shadows, Receive Shadows, Static, Lightmapped, Custom AABB, Batch Group, and Layers, with ASSET MATERIALS and ENTITY MATERIALS buttons below. There is no material list field. Clicking ASSET MATERIALS selects the cone.glb container asset in ASSETS, but there was no field for editing the materials inside the model.
Uploaded .glb (RENDER): The model's material (Orange) is in RENDER → Materials → Material #0. The same material asset is in the folder named after the file in ASSETS. Right-click the material → References ▸ to see the names of the entities that use it.
Change the color: every copy of the model
For an uploaded .glb, changing DIFFUSE → Color on the material asset changes the color of every entity that uses that material. In our test, Orange was used by both the model's child TestCube and Box; changing its color to 3060FF turned both blue. A material is a project asset, not part of an entity, so entities in other scenes change too (What's per scene and what the project shares).
A store model has no separate material asset, so we found no field in the editor for changing the color of every copy at once. Change each entity with the method below.
Change the color: this entity only
First create a new material with ASSETS + → Material and set its color (Change an entity's color). Then attach it according to the model type.
Store model:
- Select the model entity and click ENTITY MATERIALS under MODEL (LEGACY). The right side shows Entity Materials — SELECT MESH INSTANCE, with a row for the mesh instance (for example,
cone) and anEmptyslot. - Click the mesh instance row.
에셋 패널에서 고를 에셋을 누르세요 — Esc로 취소(Click the asset to pick in the asset panel — Esc to cancel) appears over the viewport, and ASSETS is filtered to show only materials. - Click the material to attach. A
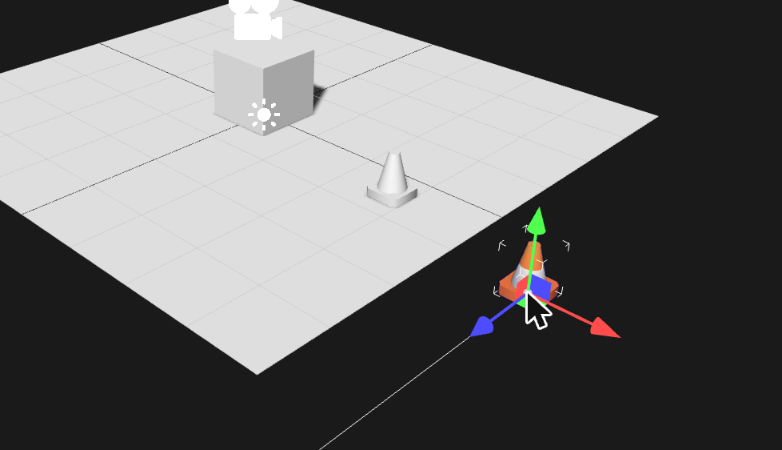
cone — New Materialrow (pencil, ✕, trash icons) appears under MODEL (LEGACY), and only that entity switches to the new material. Other entities placed from the same model kept their original color.
Dragging a material onto this slot did not attach it. Click the mesh instance row and pick instead.
Uploaded .glb: Select the model's child entity (for example, TestCube) and drag the new material onto the Material #0 field of RENDER, or pick it with the pencil icon. Only that entity changes.
If the model gets its color from a texture (image), changing Color barely changes it, or the color is multiplied with the image. Pending Test with a model that uses a texture
Let the AI do it
Include the name of the entity to change, the color you want, and what to leave as is. Also say whether you mean "this entity only" or "every copy of the model." If you don't, the AI may change the shared material, and other entities will change too.
Change only the cannon-ball entity to red.
Leave the color of other entities that use the same model as it is.
Don't touch anything other than what I asked for.
Pending Test Let the AI do it — same prompt, 3 runs